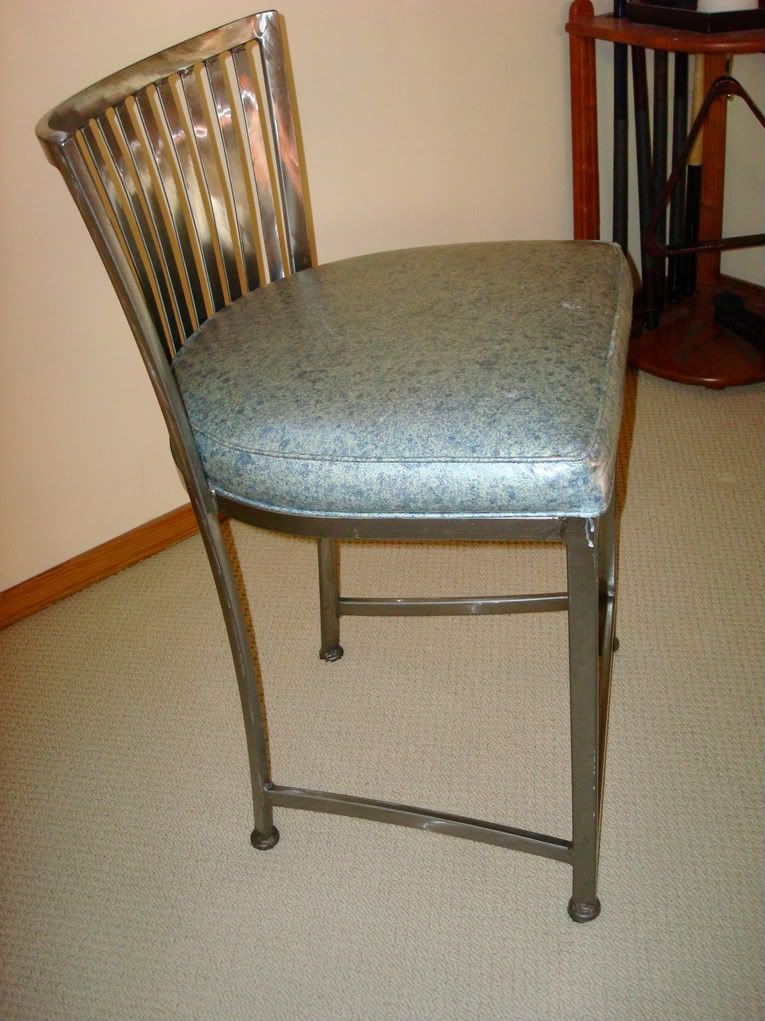
Well, I guess it could be worse, but it's still a darn ugly chair.
I prepped the chair by unscrewing the cushion from the frame, and getting all my tools ready.
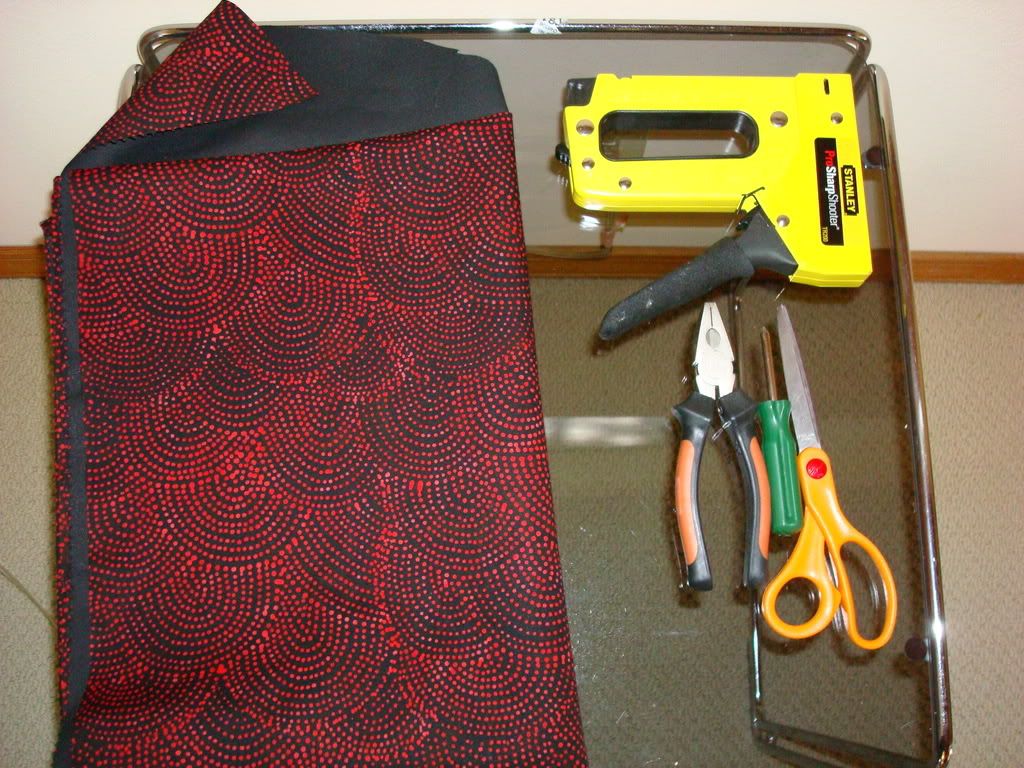
Tools!: Thick fabric, fabric scissors, screwdriver, pliers, and a staple gun.
And a healthy sense of respect for the kind of damage a staple gun can do to your fingers.
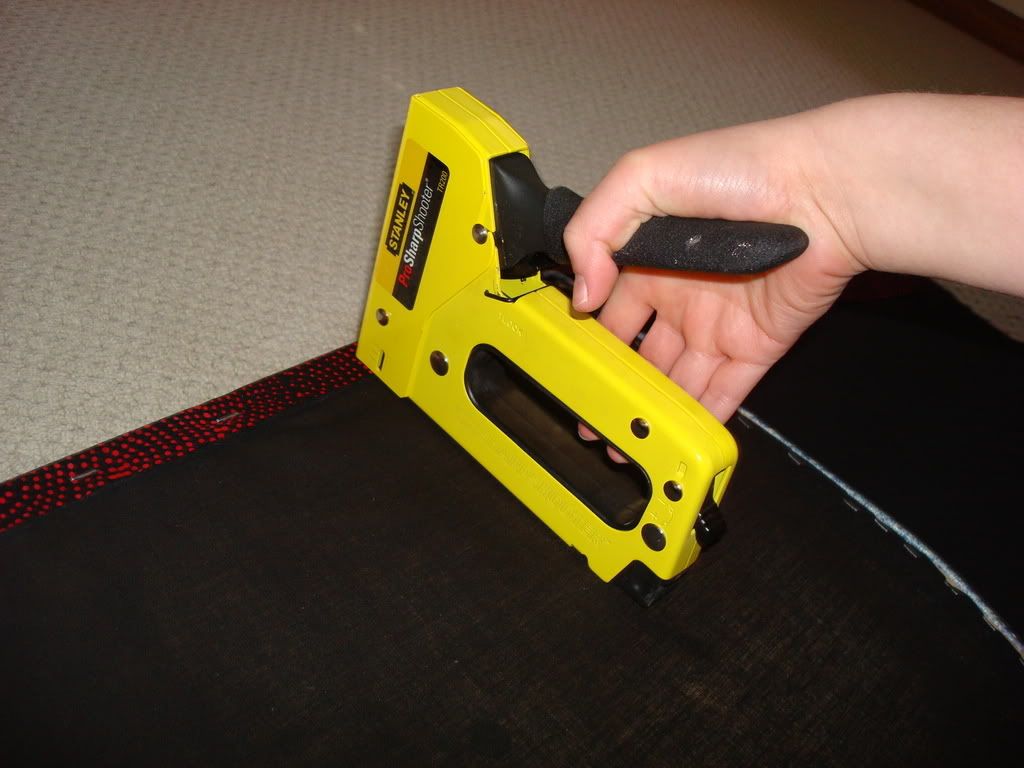
My first use of the staplegun. It takes more stregnth that it would seem.
More imporantly, You can kill someone by stapling them in the throat.
Using the staple gun took some practice, as I'd never used one before and I did the whole project on my own so I didn't really have any instruction. It's good to note that poorly applied staples can be removed by using your screwdriver as a lever, and using a pair of pliers to yank the offender out. The rest of the fabric should be stapled to the cushion, trying to keep the pleats that come from rounded edges symmetrical. And mostly towards the back where they'll be hidden by the slats of the chair.
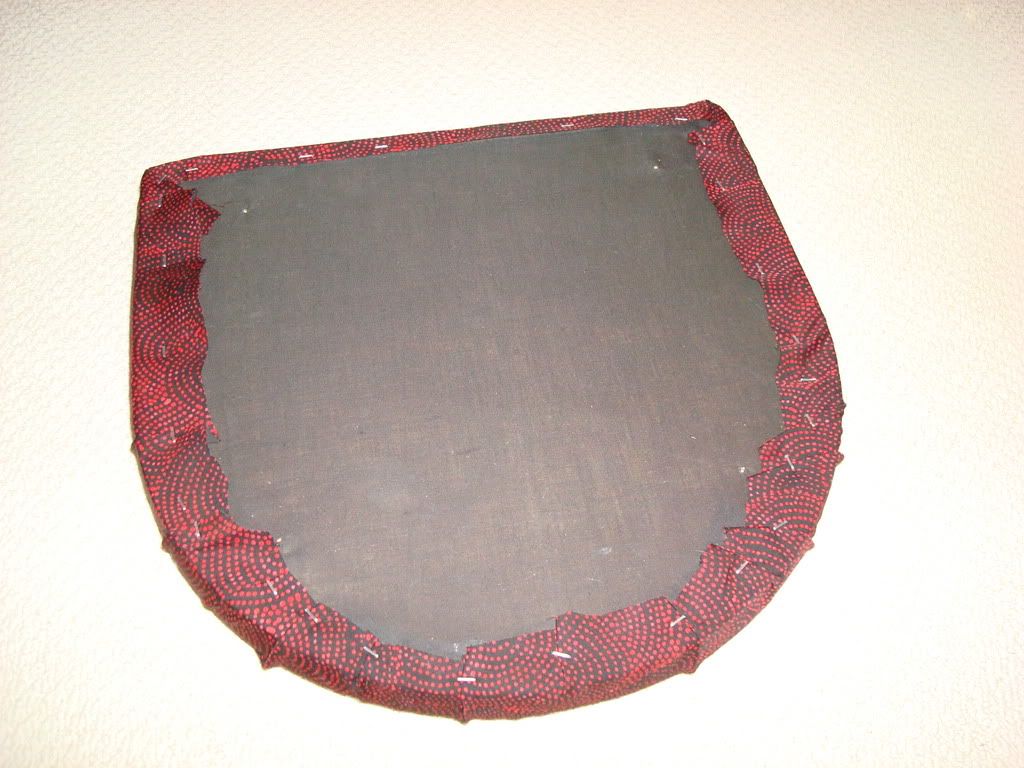
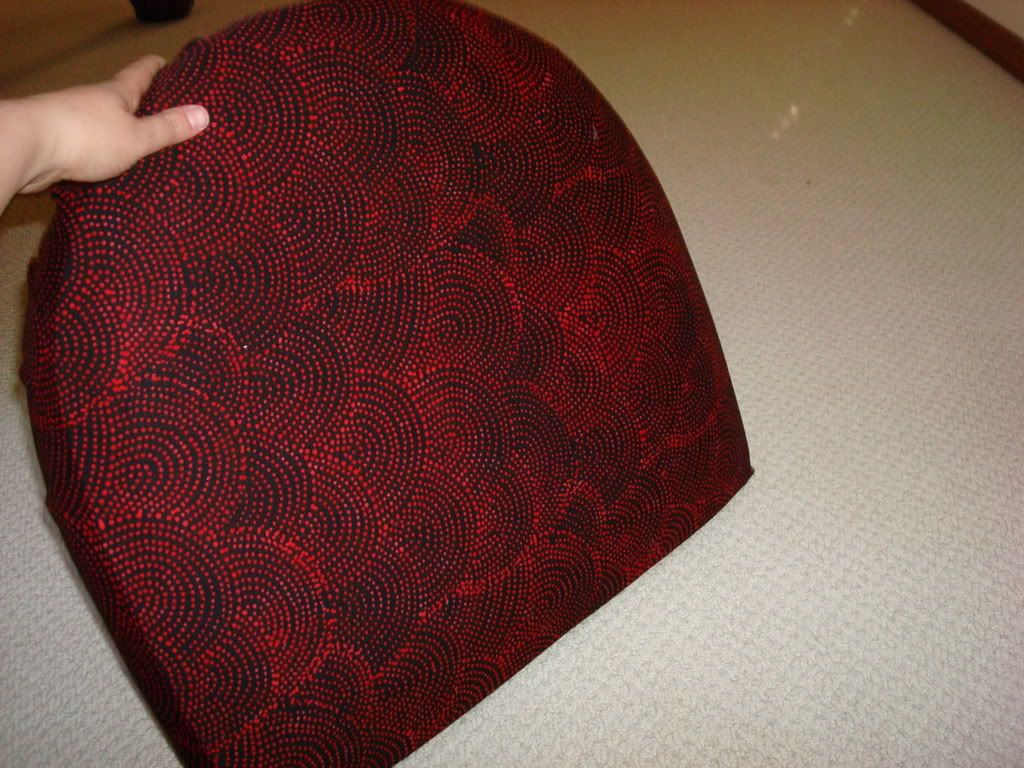
The finished cushion from both sides. Much nicer than that hideous blue vinyl,
Amirite?
The last step was to reattach the cushion to the metal frame. Which was actually harder than it sounds, since the screws have a tendency to not want to go in straight. If you ever do a similar project, I highly recommend trying to put in all the screws just a little bit at a time and tightening them all by hitting them all in order. Ultimately, this is a much better plan of attack than my original attempt of trying to screw in one whole screw at a time.
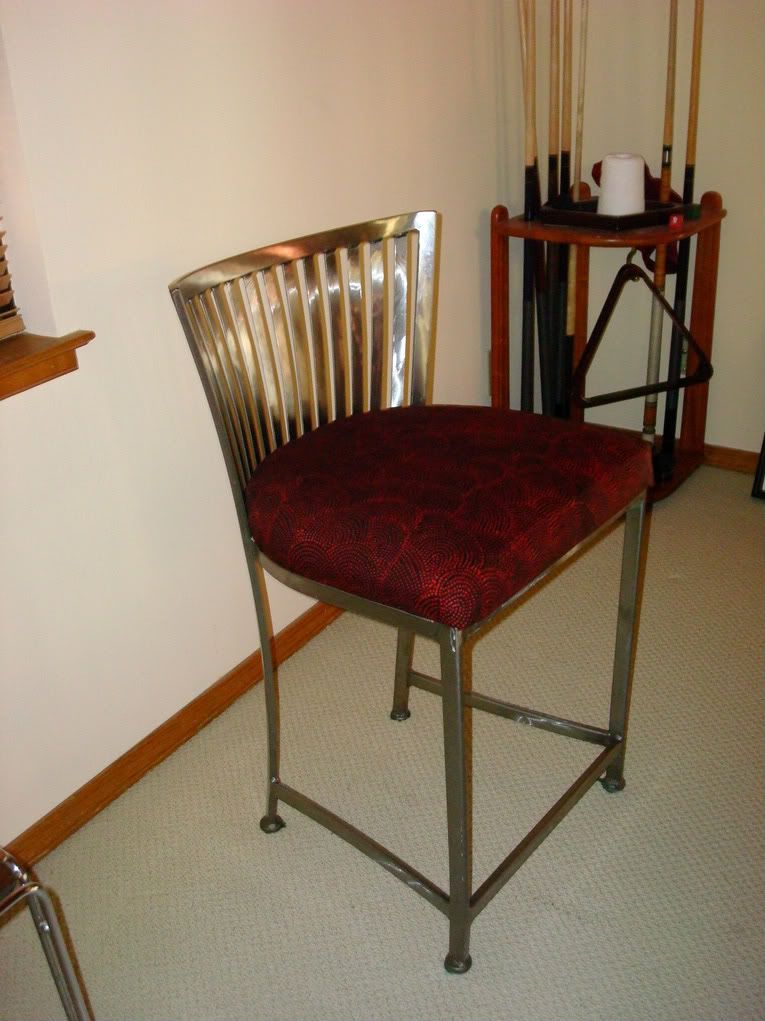
This fabric looks so much better on the chair than it did on the floor.
And the chair looks so much better than it did in blue vinyl. No lie.
So, there you have it! Reupholstering chairs in awesome! Sorry this wasn't more entertaining... it's late and I've been doing my taxes!

2 comments:
The chairs look great!
And I would have helped you with the staple gun, had you told me you'd never used one. They're fun!
neat!
Post a Comment